When Chinese people say they're going to celebrate with a meal, what we really mean is a banquet, a 14 course banquet across several large round tables with the turning table in the middle.
I thought I'd say it with less words for this post. Enjoy. I certainly did.
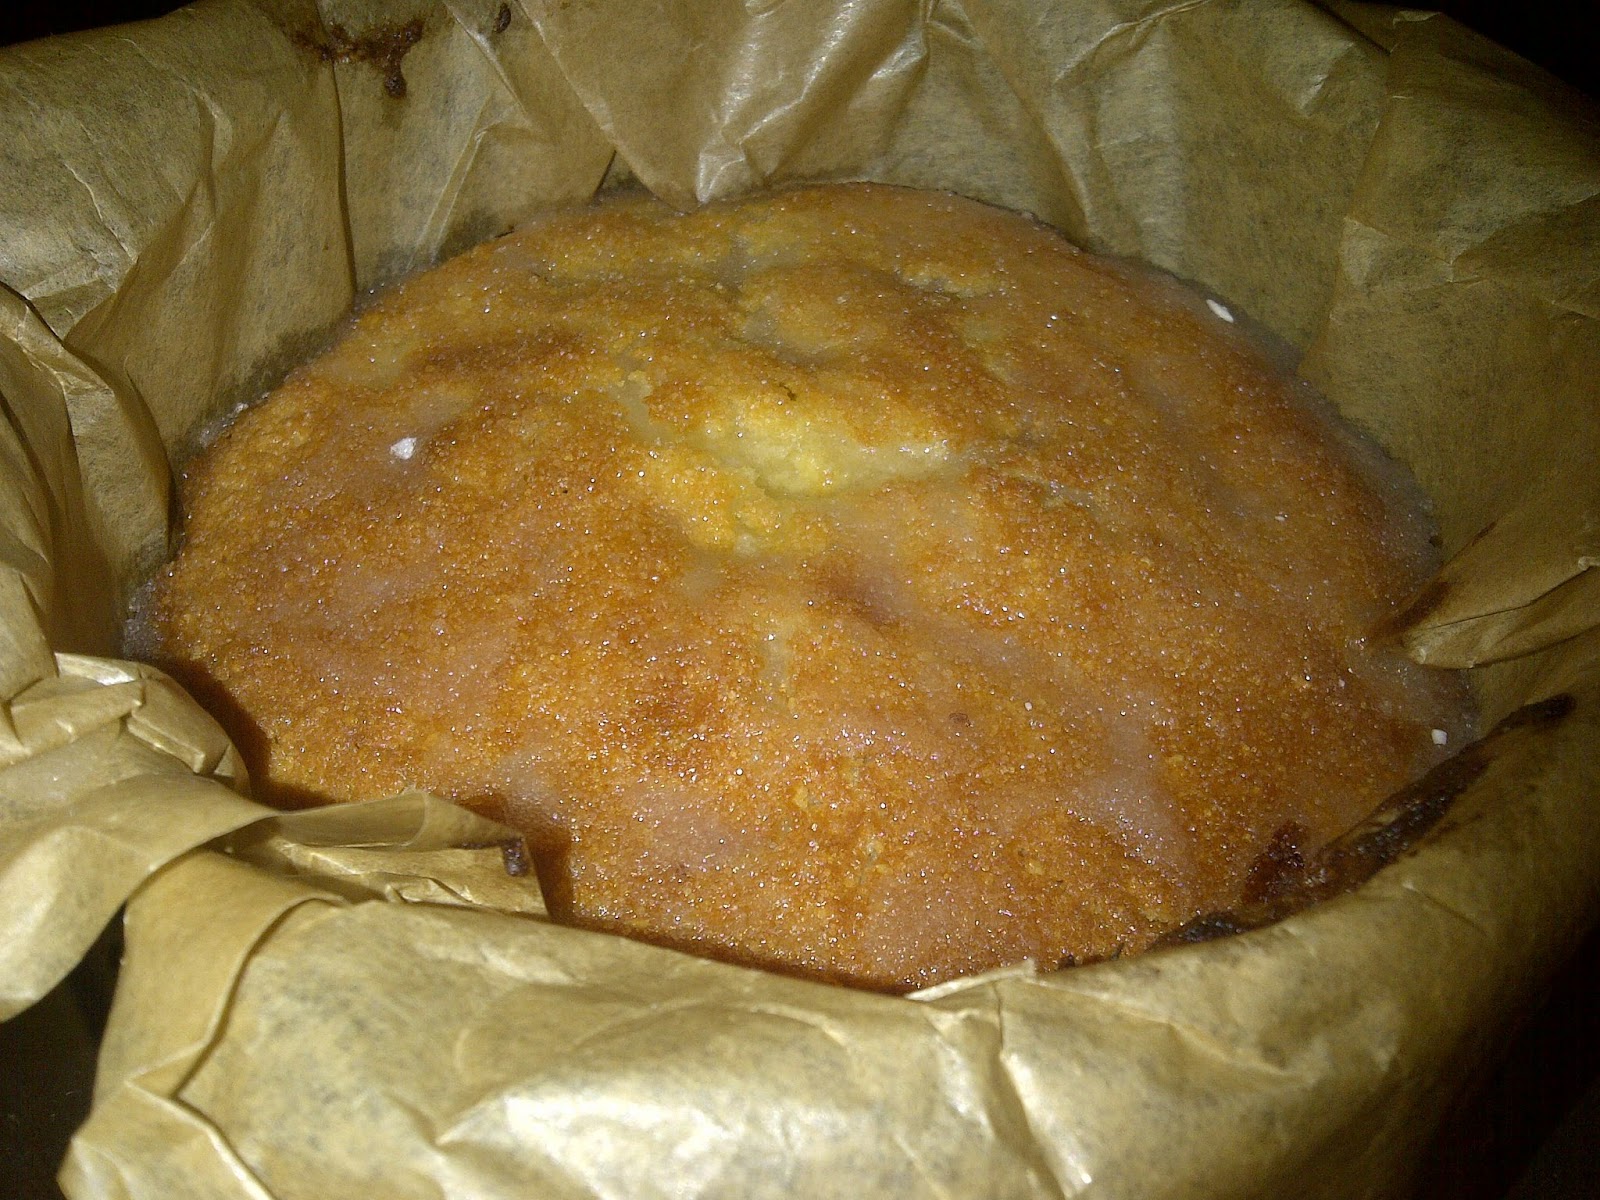
Beat in the eggs, flour, almonds, baking powder and milk until smooth.
I added a few spoonfuls of ginger extract at this point - don't be afraid of the strong smell - turns out ginger in cake is a good thing (only if you're a fan of ginger that is).
Pour into the tin and bake for 40 mins until golden, risen or just when the skewer poked in the centre comes out clean.
As soon as the cake has come out of the oven, prick it all over with a skewer.
Mix together the cordial and extra sugar, then pour all over the cake.
A simple recipe to use the left over buttercream from Hayley's cake.
Taken from the BBC's Vanilla Cupcakes recipe. Makes 12.
Ingredients
- 110g/4oz butter or margarine, softened at room temperature
- 110g/4oz caster sugar (I used brown sugar just to see the difference, it gives a caramel flavour)
- 2 free-range eggs, lightly beaten
- 1 tsp vanilla extract
- 110g/4oz self-raising flour
- 1-2 tbsp milk
For the buttercream icing
- 140g/5oz butter, softened
- 280g/10oz icing sugar
- 1-2 tbsp milk
- a few drops food colouring
Method
1. Preheat the oven to 180C/350F/Gas 4 and line a 12-hole muffin tin with paper cases.
2. Cream the butter and sugar together in a bowl until pale. Beat in the eggs a little at a time and stir in the vanilla extract.
3. Fold in the flour using a large metal spoon, adding a little milk until the mixture is of a dropping consistency. Spoon the mixture into the paper cases until they are half full.
4. Bake in the oven for 10-15 minutes, or until golden-brown on top and a skewer inserted into one of the cakes comes out clean. Set aside to cool for 10 minutes, then remove from the tin and cool on a wire rack.
5. For the buttercream icing, beat the butter in a large bowl until soft. Add half the icing sugar and beat until smooth.
6. Then add the remaining icing sugar with one tablespoon of the milk, adding more milk if necessary, until the mixture is smooth and creamy.
7. Add the food colouring and mix until well combined.
8. Spoon the icing into a piping bag with a star nozzle and pipe the icing using a spiralling motion onto the cup cakes in a large swirl.
Hayley's Birthday Surprise: White Velvet and Strawberry Layer Cake, with white chocolate covered strawberries
It was Hayley's birthday last week and to celebrate I promised her a fantastic cake! She'd never had a birthday cake made for her before (I know!!!) so I had to make it extra special. She fancied something with strawberries and this recipe certainly doesn't disappoint.
I took this cake from my boyfriend's flat in North London, to the party in East London on the London underground. No-one has ever spoken to me on the tube except to say 'excuse me' or apologize for standing on my feet, I had at least 10 people compliment or ask about the cake in the 15 minute journey and on my way to and from the station so I can guarantee this will impress everyone!
If you are planning to make this I would recommend preparing your icing in advance, maybe the day or night before to save time. I will post the recipe for making the chocolate covered strawberries here.
Please note: Although most of our recipes are quick and easy, this one should not be attempted by a first time baker as it is quite time consuming and takes a little know how. If you've made cakes before then you should be fine!
The Finished Cake having an extra quick freeze before getting on the warm underground train!
For the buttercream:
Ingredients:
A few drops of red food colouring (optional)
Freeze dried strawberries or finely chopped fresh strawberries
560g Icing sugar
5 tbsp Milk
280g Unsalted butter, softened
Method:
Beat the butter in a mixing bowl until soft. Add half the icing sugar and slowly beat until the sugar is less powdery, then you can speed up and beat until smooth.
Add the remaining icing sugar and slowly add the milk to loosen the mixture and add creaminess.
Stir in a couple of drops of food colouring, if you are going to pipe icing as decoration, split your icing in a 2:1 ratio now.
Add the freeze dried strawberries to the large portion of icing.
Now refer to step 7 onwards of the cake method to complete your cake.
For the White Velvet cake:
This recipe is based on the Funfetti Cake recipe on TheKitchn.com, a great site and a favourite of mine you should jump over there after this!
Equipment:
Two 9-inch cake tins, lightly greased and floured (I used my trusty silicone ones)
A large mixing bowl
A wooden spoon and a hand whisk
OR an electric whisk or food processor (of which I have neither, if you would like to offer us one for review...and to keep! please email us at thelittlekitchenmail@gmail.com which would make us very grateful and happy)
*Before you start, allow the eggs and butter to have at least half an hour out of the fridge at room temperature.
Ingredients:
4 1/2 large egg whites (keep the yolks and then make french toast with them)
120 ml of whole milk
3 teaspoons of vanilla essence
300g self-raising flour (sifted)
300g of caster sugar (please, please DO NOT use granulated sugar)
1 tablespoon + 1 teaspoon baking powder
1/4 teaspoon of salt (a sprinkle)
170g of unsalted butter, softened
A few tablespoons of strawberry jam.
Method:
Preheat your oven to 180 C/ 350 F/ Gas mark 4
In a medium bowl (not your main mixing bowl) lightly combine the egg whites, 60ml of the milk and the vanilla.
In a large mixing bowl (your main one) combine your dry ingredients. Add your softened butter (a little at a time if mixing by hand) and the remaining milk, mix until the dry ingredients are moist. Now step up your speed and beat the mixture until it softens and combines, then add the egg mixture a little at a time, beating after each addition to incorporate until all of the egg is mixed in and the ingredients have formed a batter.
Scrape your batter out into the prepared baking tins, dividing evenly and then smoothing the surface with a spatula. The pans should be about half full.
Bake for 25-35 minutes or until a sharp knife inserted into the center of the cake comes out clean and the cake springs back when you press it lightly.
Remove from the oven and let the cakes cool in the tins for 10 minutes. Loosen the sides and invert the layers onto a cooling wrack. Then re flip them so that both sides are completely cool. Alternatively, and a lot quicker you could place the cakes in your freezer after 10 minutes and leave them to cool for 30 minutes to an hour. This is what the professionals do and it works just as well and doesn't alter the flavour or texture in my opinion...just don't let them freeze.
When your layers are cool you can move on to icing them. If you are using a cake stand or a presentation plate dot some icing on it before putting down your base layer to hold it in place. Then place squares of baking parchment around the outside to keep your serving plate neat, these can be easily removed after the cake is iced. Taking your large portion of icing begin to ice the layers with a spatula.
Place your base layer on the serving plate and add a thick dollop of buttercream into the center. Don't be sparing or you could catch the surface and pull holes. Spread the icing from the center outward with a spatula until the base layer is coated. Dollop the jam into the middle and spread out.
Place the top layer on top, making sure it is lined up and lightly press down into the icing and jam. Now dollop half of the icing onto the top layer, working it outwards and down the sides of the cake, until the entire surface is covered. Then add the remaining icing to give the cake a luxurious finish. I will add a good how-to video below.
If you are going to pipe a design onto your cake (I recommend you use a disposable piping bag) take the buttercream you have set aside. Place your nozzle at the end of the piping back and snip off the very end of the bag. Fill your bag about half way, by sitting the bag in a vase or tall vessel and folding down the edges over the rim. This makes it very easy to fill the bag without help. Now fill the bag and twist the top so that the icing is held firmly in the bag. Now pipe your design, a good tutorial is here.
Allow the icing to harden (if you are in a rush, another trip to the freezer won't hurt). Now arrange the chocolate strawberries onto the cake, carefully pull out the baking parchment and and serve!
Cute corgie biscuits and hotel cakes to celebrate the Diamond Jubilee this weekend.
The biscuits and mouse bread are from the traditional bakery at Betty's in the picturesque Yorkshire town of Harrogate. Betty's is a real celebration of English afternoon tea http://www.bettys.co.uk/
And there was a cute dog outside...
Happy Diamond Jubilee (four day weekend) everyone!